Tasks
Now that Depots are ready, we need to take care of Tasks.
Tasks are used to launch and interact with the game in the GOG GALAXY client as well as Start Menu / Desktop shortcuts in Windows. There are two kind of tasks: File Task and URL Task.
-
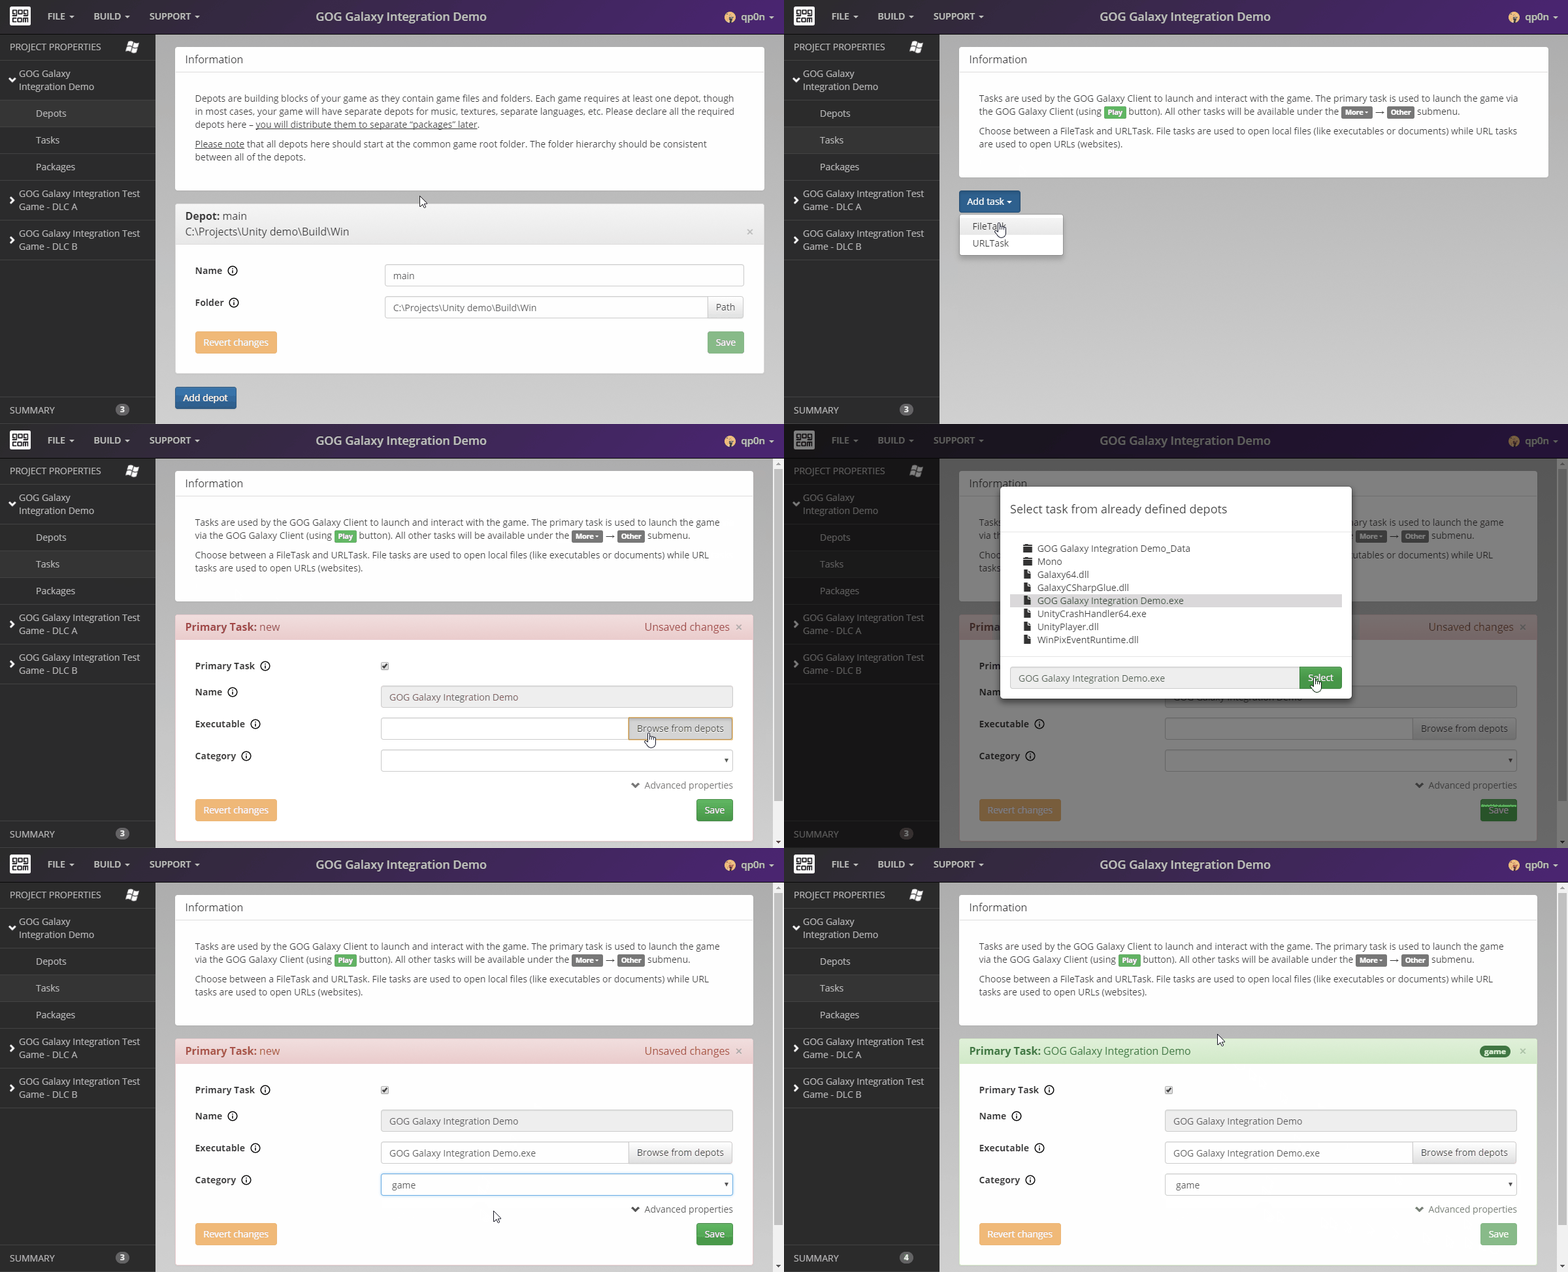
Open the Tasks page for our base product by clicking Tasks on the left pane.
-
To add a task, click the blue Add Task button and select the task type from the resulting drop-down menu. We want to add an executable, so select FileTask. New empty FileTask template will appear.
-
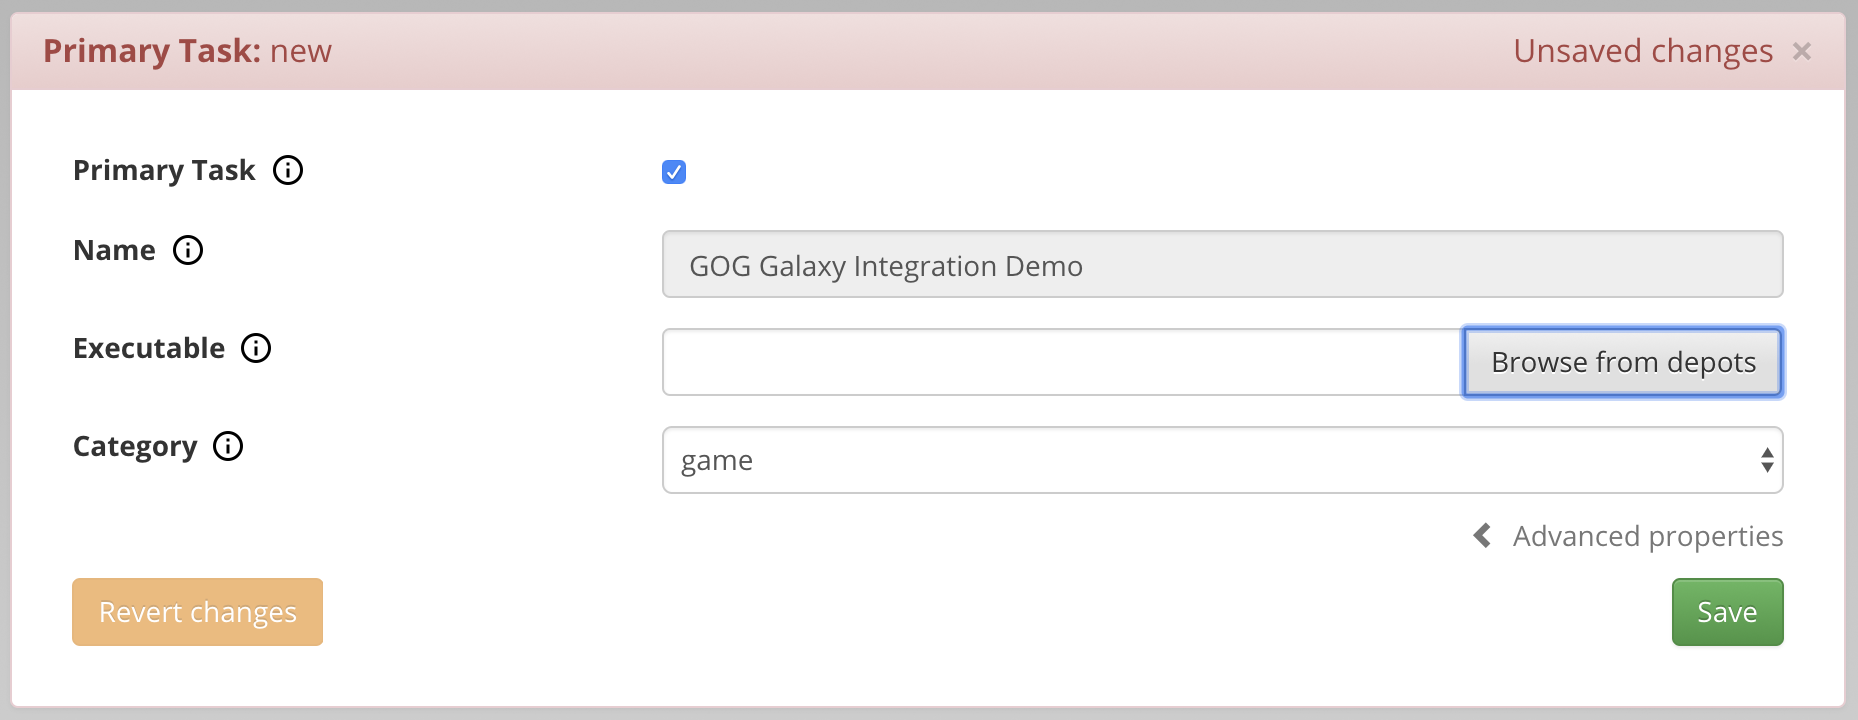
We want this to be the game primary executable (launched by the purple Play button in the GOG GALAXY client), so we need to check the Primary Task checkbox. When it’s checked, the Name field is automatically filled with the product name and locked from editing.
Note that all tasks need to have a name. For tasks other than the primary play task, this name will be displayed in the GOG GALAXY client in More→Others menu.
-
Now we need to add the Executable path. This path is relative to the game root directory. We could enter the path manually, but it’s more convenient to use Browse from depots button. When clicked, this button displays a list of all files contained within depots defined in the previous step (if you don’t define any depot, this button will be inactive and grayed out). Our game main executable — GOG Galaxy Integration Demo.exe — is located in the game root directory, so it is immediately visible on the list. Select GOG Galaxy Integration Demo.exe from the file list and the path to that executable will be automatically added to the Executable path.

-
Last but not least, we need to select a Category for our file task. This is the game primary task and the Executable path points to the game main executable, which starts the game directly. Therefore, a proper file task Category in this case is game.
Obviously, if the Executable path would point to a launcher, which starts the game, you would use the launcher category.
Our task is now ready, and we can save it by clicking the green Save button.
This process is illustrated below:
